
Post by RuneCaster_Aris on Oct 9, 2012 16:19:31 GMT -5
Halloween is fast approaching! A time of costumes and spooks, good humor and macabre, and of course... an unbridled slue of B-Grade slasher flicks.
So I present to you my guide to gore. Now, I'm going to warn you now, because some are weak of stomach over the smallest amount of blood...
THIS CONTAINS BLOOD, (looking stuff).
Now, why paint gore? Not all weapons of the far future are pleasant. Ever actually consider the effects of getting hit mid-torso with a large type plasma projector? The disgusting effects of the Heat Ray on in/human flesh? Well that's why I'm posting this. There are lots of great monster models out there, and this time of year we all become a little darker in our humors. Why not make something a little... gross for the table top? Halloween themed table top, think about it.
Now on with the guide!
______________________________________________
What you need:
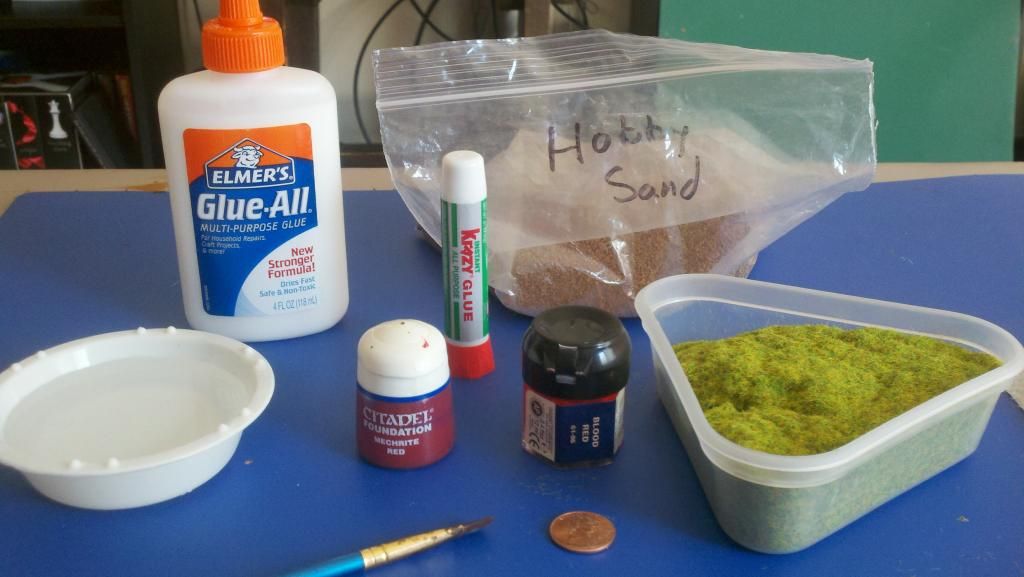
PVA Glue
(runny) Super Glue
Old Paint Brushes
Fine to Medium grain modeling sand (I prefer the latter)
Modeling Grass (optional for bones and/or stringy-bits)
Paint: Dark Red (1 part Red, 1 part Purple)
Paint: Red
Optional Paint: Tan and White (for bone fragments)
Your preferred model base
Whatever else you want on your base.
Step 1: Make your base as you would normally. I like grassy and muddy fields as my favorite so here is a picture of my finished base minus gore.

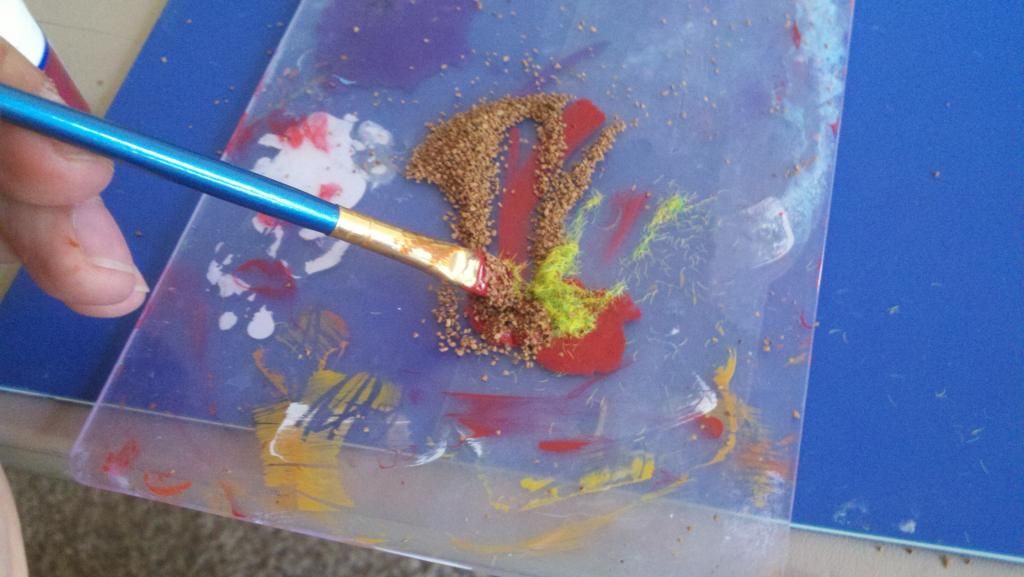
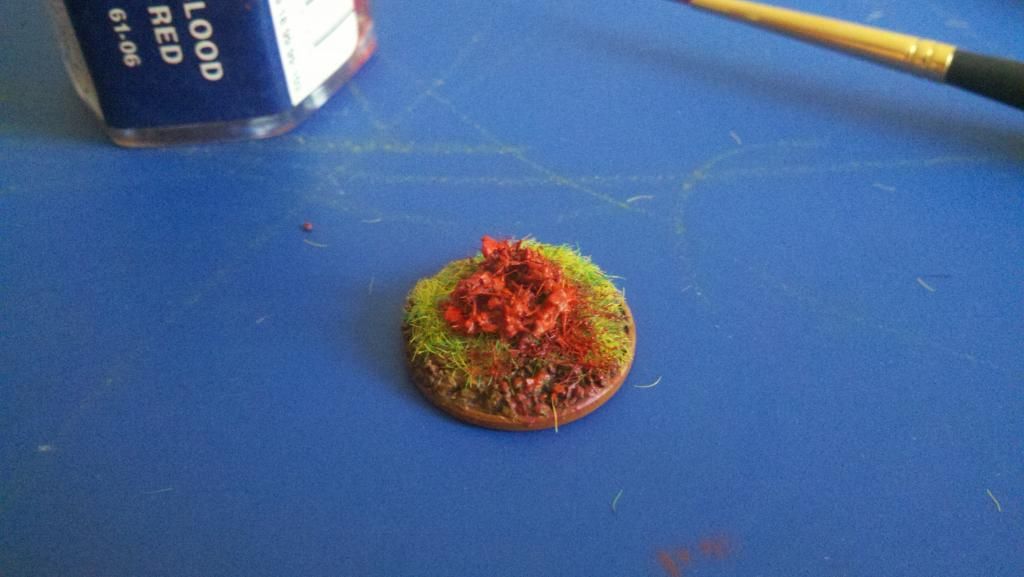
Step 2: Make the gore. Get a Pinch of sand, a Pinch of grass, and a glob of dark red paint on your pallet. Mix these together thoroughly till all are covered and sticky. if the mix is very liquidy, add more sand, if too thick add more paint.

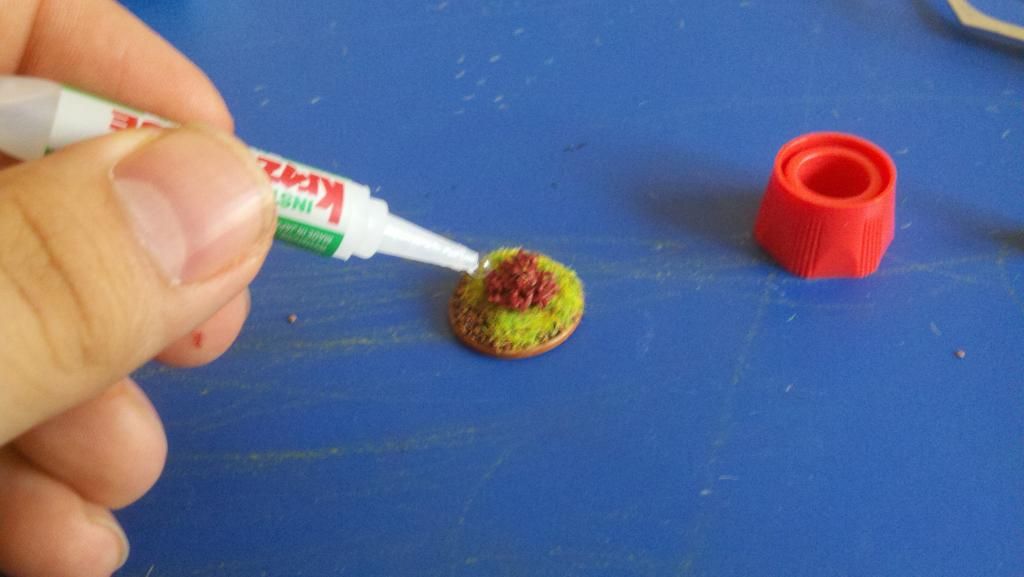
Step 3: Put it on the base, use your fingers, whatever... just put it on the base in a bit of a blob shape. Yes, do it while it is still wet.

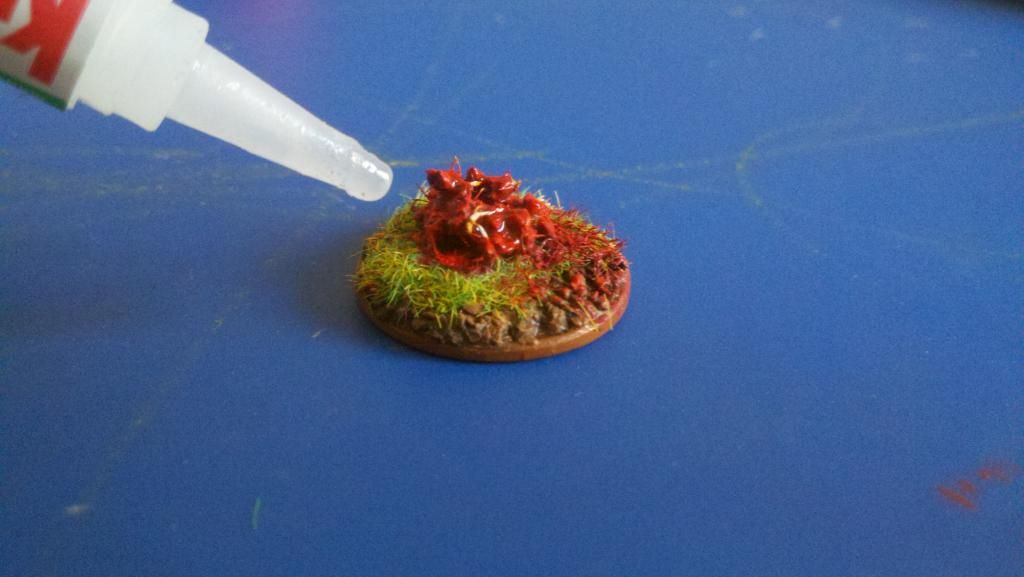
Step 4: Put super glue on the glob. The reason you need the runny type super glue is because the next thing is to blow on it to fill in some of the gaps. ONLY DO A DROP AT A TIME. Slow and steady makes the gore. This will also help secure it to the base.
Step 5: After the glue is dry, add a little more dark red paint around the blob of gore to give some runny-ness appearance to it. I also do a slight V shape of dabbing behind the blob to show that it slid across the ground a bit.
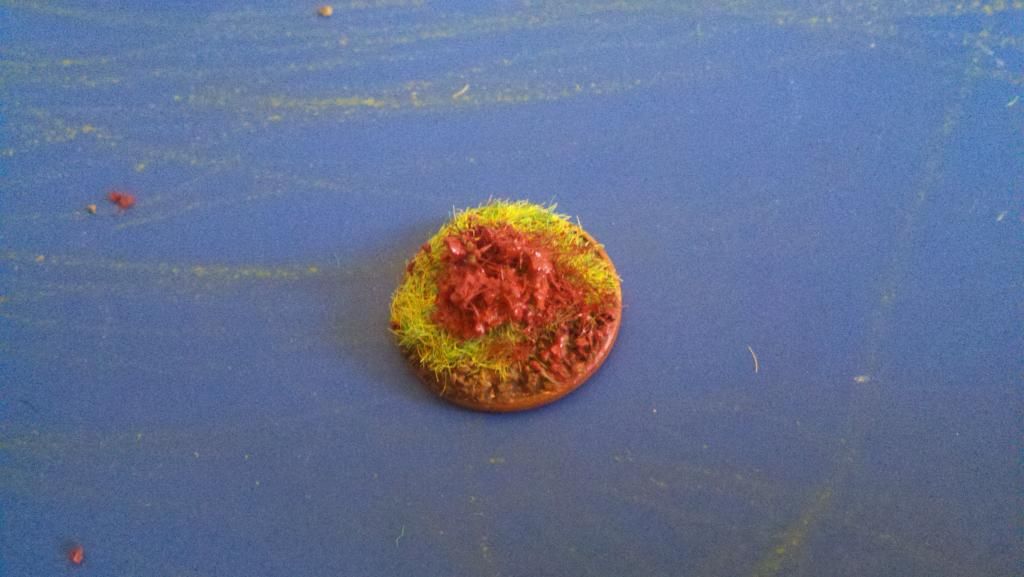
Step 6: Dry brush on some pure Red paint. Dry brush the blob, as well as the area around the gore to give a little depth. I usually do two dry brush coats to the gore pile.
Step 7 (Optional): Paint in some bones. Look for the bits of modeling grass that are exposed. I paint them tan, and then about 5/6ths of the strand white, leaving dark areas on ends touch the blob for some depth. After that dries, add another layer of glue as in Step 4.

And you're done! Enjoy your mess

So I present to you my guide to gore. Now, I'm going to warn you now, because some are weak of stomach over the smallest amount of blood...
THIS CONTAINS BLOOD, (looking stuff).
Now, why paint gore? Not all weapons of the far future are pleasant. Ever actually consider the effects of getting hit mid-torso with a large type plasma projector? The disgusting effects of the Heat Ray on in/human flesh? Well that's why I'm posting this. There are lots of great monster models out there, and this time of year we all become a little darker in our humors. Why not make something a little... gross for the table top? Halloween themed table top, think about it.
Now on with the guide!
______________________________________________
What you need:
PVA Glue
(runny) Super Glue
Old Paint Brushes
Fine to Medium grain modeling sand (I prefer the latter)
Modeling Grass (optional for bones and/or stringy-bits)
Paint: Dark Red (1 part Red, 1 part Purple)
Paint: Red
Optional Paint: Tan and White (for bone fragments)
Your preferred model base
Whatever else you want on your base.
Step 1: Make your base as you would normally. I like grassy and muddy fields as my favorite so here is a picture of my finished base minus gore.
Step 2: Make the gore. Get a Pinch of sand, a Pinch of grass, and a glob of dark red paint on your pallet. Mix these together thoroughly till all are covered and sticky. if the mix is very liquidy, add more sand, if too thick add more paint.
Step 3: Put it on the base, use your fingers, whatever... just put it on the base in a bit of a blob shape. Yes, do it while it is still wet.
Step 4: Put super glue on the glob. The reason you need the runny type super glue is because the next thing is to blow on it to fill in some of the gaps. ONLY DO A DROP AT A TIME. Slow and steady makes the gore. This will also help secure it to the base.
Step 5: After the glue is dry, add a little more dark red paint around the blob of gore to give some runny-ness appearance to it. I also do a slight V shape of dabbing behind the blob to show that it slid across the ground a bit.
Step 6: Dry brush on some pure Red paint. Dry brush the blob, as well as the area around the gore to give a little depth. I usually do two dry brush coats to the gore pile.
Step 7 (Optional): Paint in some bones. Look for the bits of modeling grass that are exposed. I paint them tan, and then about 5/6ths of the strand white, leaving dark areas on ends touch the blob for some depth. After that dries, add another layer of glue as in Step 4.
And you're done! Enjoy your mess


