
Post by baldlea on Oct 7, 2013 7:15:57 GMT -5
In the weeks after the Battle of New Finchley (link), the Anarcho Communist Commonality (ACC) and 2nd Confederacy signed an accord. This stated that New Finchley would be jointly populated by both factions who would protect the incumbent colonists and cooperate in maintaining the (previously failed) terraforming technology there.
The accord was working well until the previous leader of the colony, Fatcher, persuaded the Alabama State Governor to disobey Federal law and "liberate" the colonists from the agreement. The Alabama force arrived and detained 2nd Con observers. Before they did so, the peace-keepers were able to alert their counterparts in the ACC who had a garrison of Guardians of the Revolution (GoR) nearby. The GoR launched a force to rescue the observers and arrest Fatcher who was holding a rally to turn the colonists against the accord.
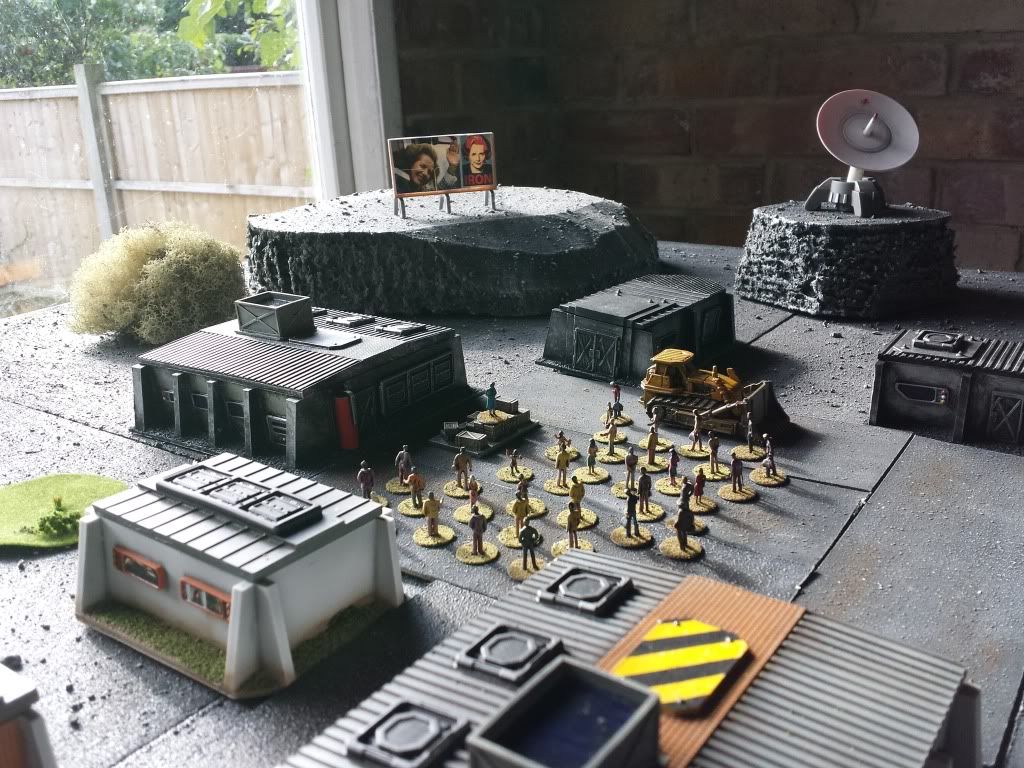
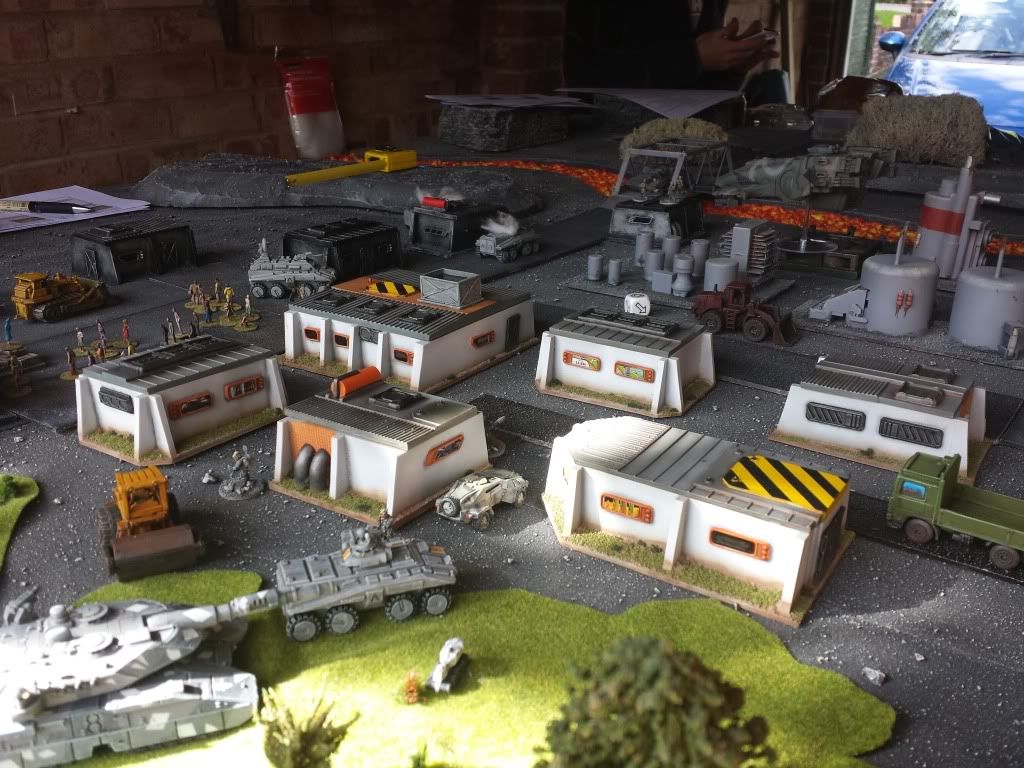
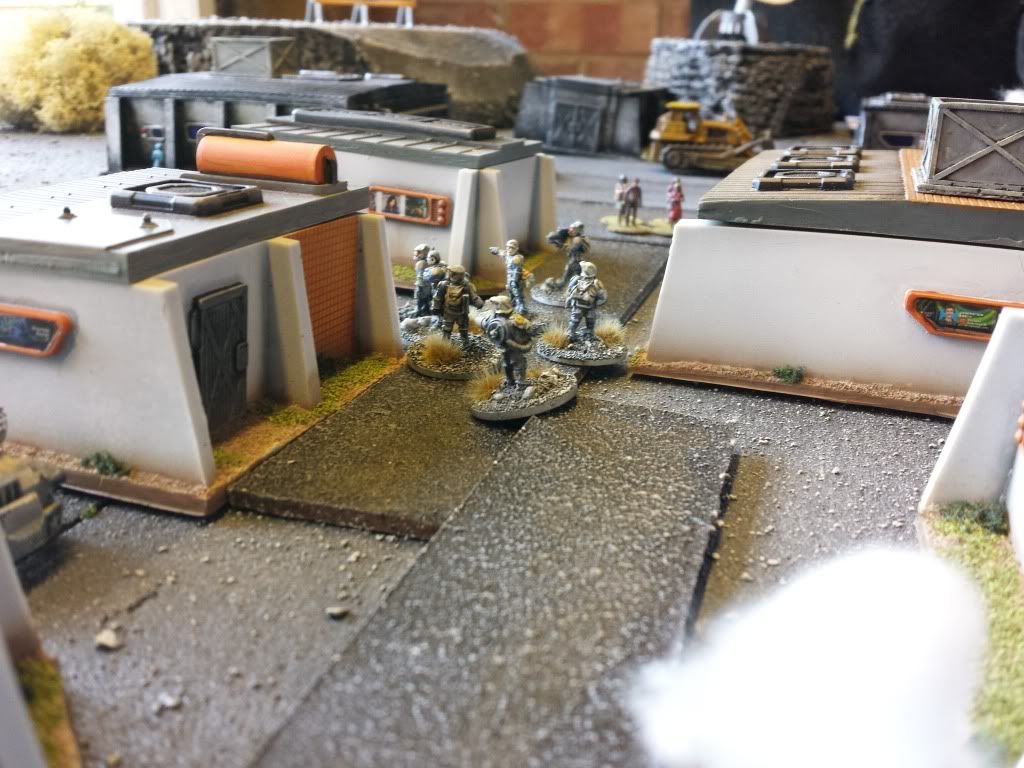
Fatcher's rally in the village square.
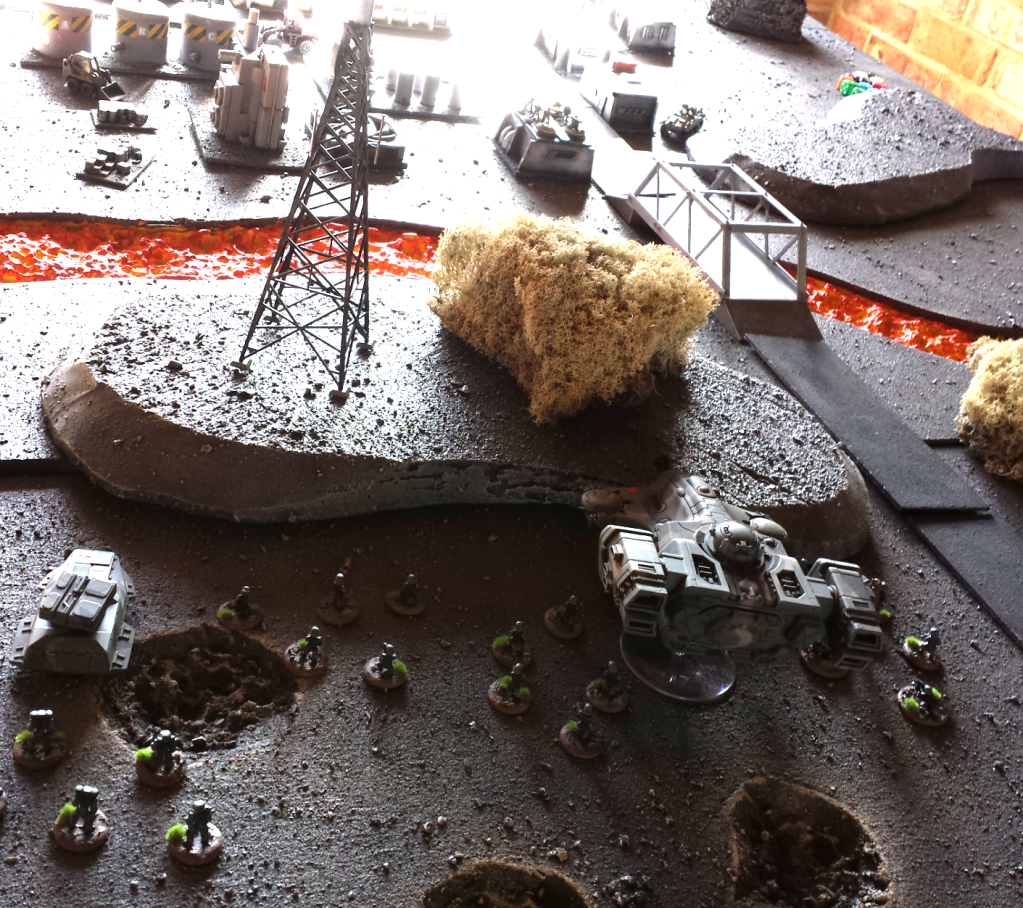
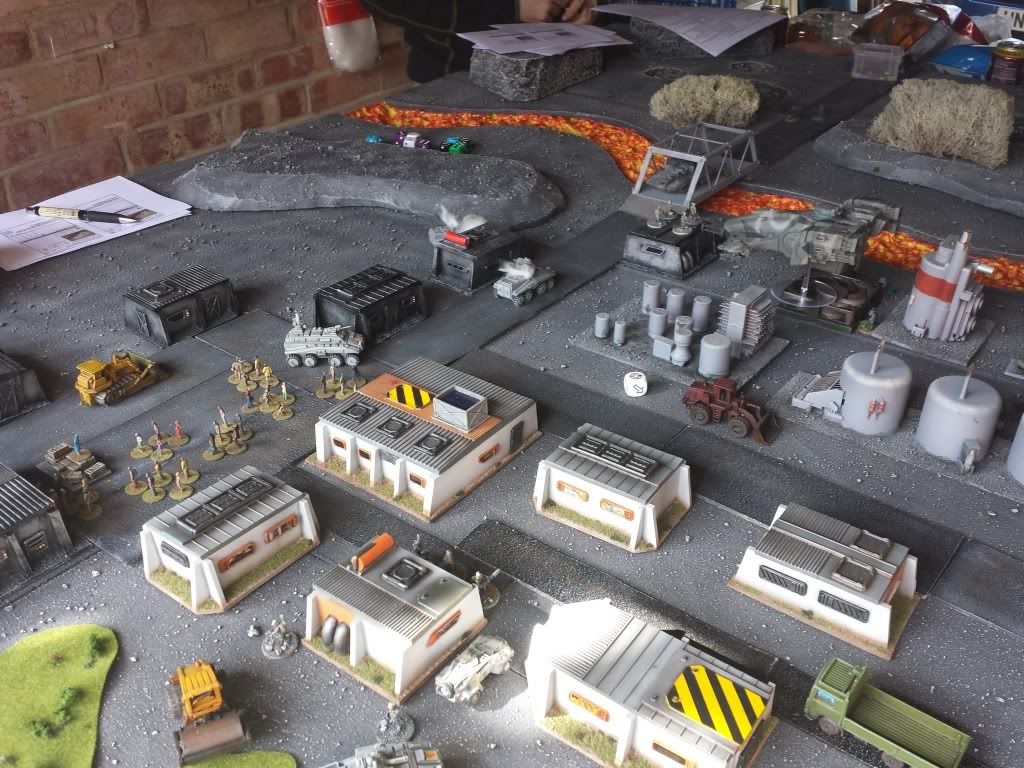
GoR forces form up to the west of the village. Despite the GoR grav technology, some of the ground troops will be unable to cross the lava flow except via the bridge. The lava is being controlled by the terraforming engines so if advanced troops can reach the controls, land bridges can be made (a difficulty 12 Skill check at one of the industrial terrain pieces).
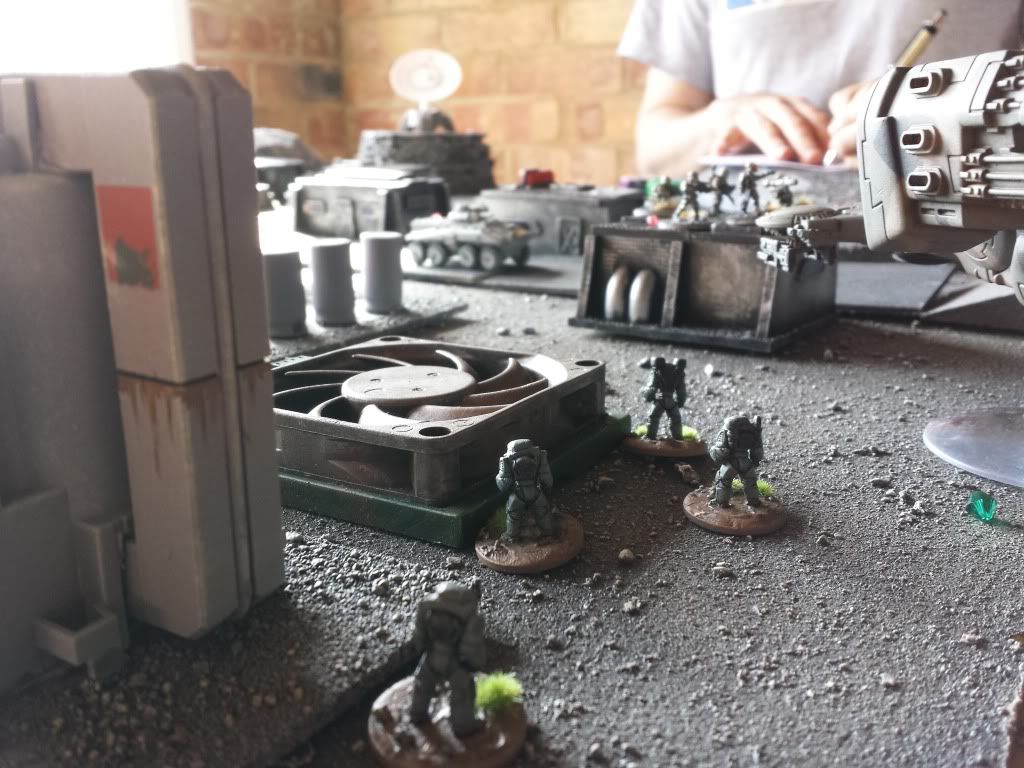
A GoR power armour team deployed from their dropship advance on the terraforming engines. They are harried by an Alabaman team positioned in a hab-hut who prove difficult to overcome.
With the sound of battle echoing across teh village, some of Fatcher's audience start to disperse (Mental checks). Fatcher herself remained iron willed and continues her monologue (Mental check with stat reducing each turn for Fatcher to remain in the square or else flee).

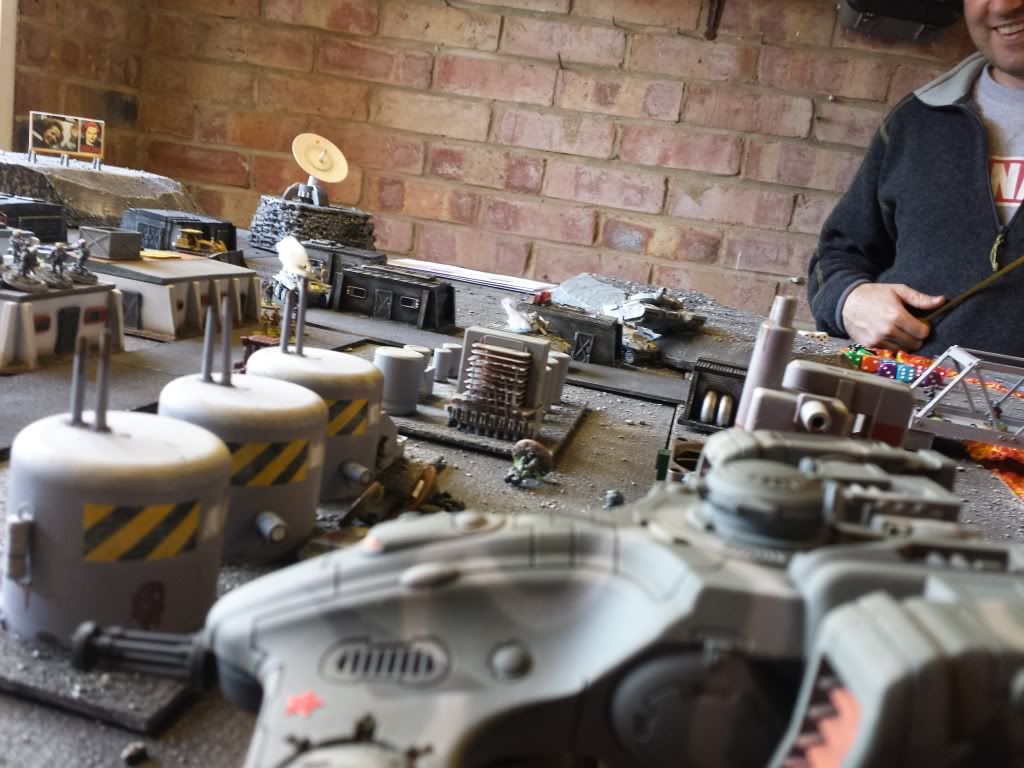
As Alabaman APCs are destroyed to the south, an MBT rolls around the northern edge of the village. Another is advancing (out of shot) to the south.
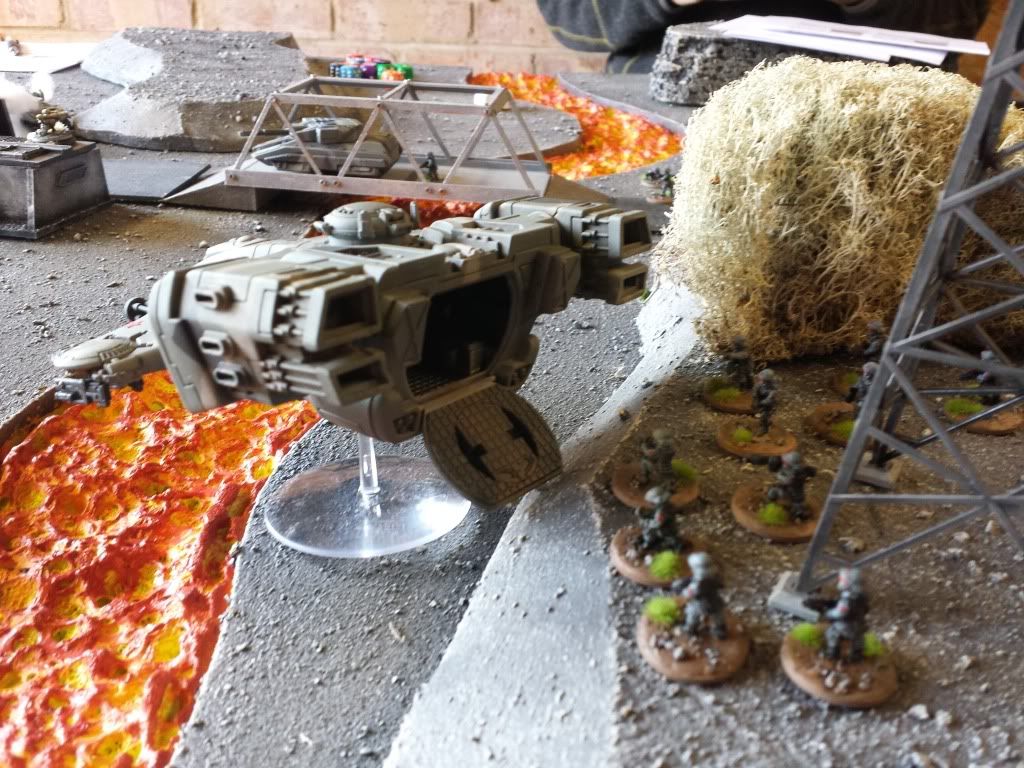
The GoR drop ship tries in vain to remove the Alabaman team from the building near the bridge. Other GoR forces are advancing through the terraforming engines.
Although creating one land bridge over the lava, the drop ship (now heavily damaged with one damage point left) flies back over the flow to collect a further two fire teams rather than wait for them to advance on foot.
As the drop ship returns, a distant Alabaman MBT in the south takes shots at it but misses its target.
With GoR troops streaming into the village, the Alabamans see the writing on the wall and try to flee with the peace-keepers and their evidence. Fatcher can be seen escaping the village top-left.
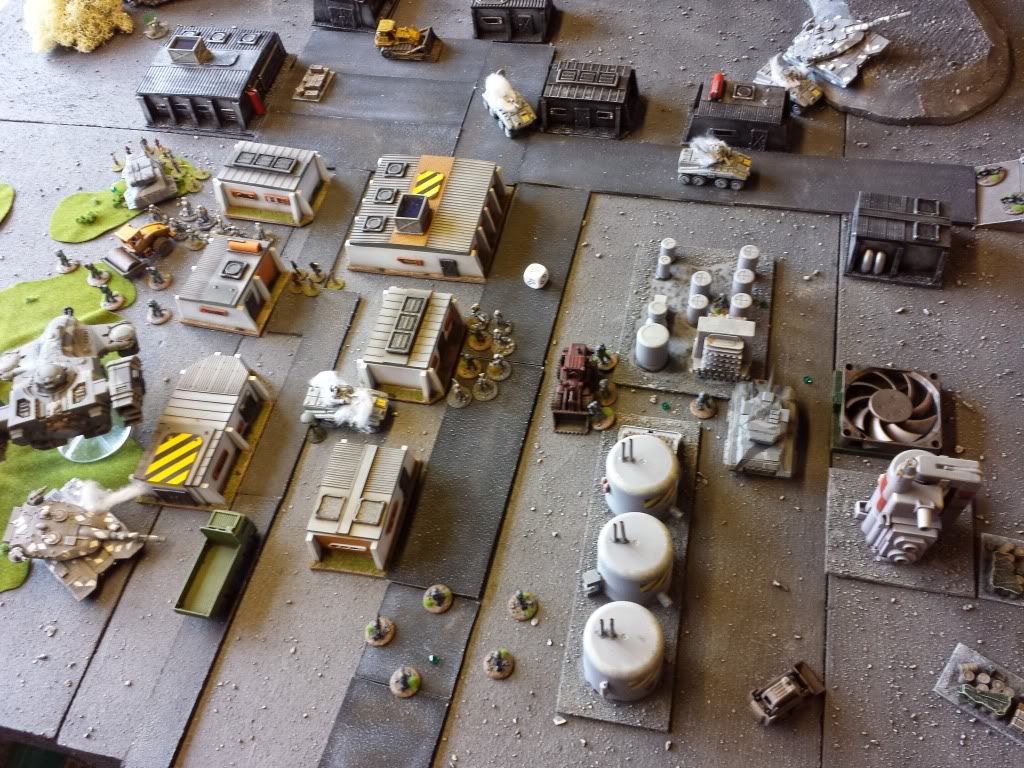
Despite besting them in close combat, an Alabaman team surrender to a GoR unit (centre of image). They have little choice as a GoR fire team appear down the road (bottom) and GoR power armour close in from behind a (red) vehicle. To the left of the image, the troops trying to escape with the observers are rounded up by more power armour and the damaged drop ship. This is despite the interference of civilians now allied to Fatcher. At the top left, the Alabaman commander can be seen fleeing the battlefield.
Aftermath
The Accord endures. The colony remains in joint control of the 2nd Confederacy and Anarcho Communist Commonality. The Alabaman troops are arrested and sentenced using the evidence provided by the 2nd Con observers and taken from GoR vehicle footage (one of the fleeing civilians had been killed in the crossfire) . Those citizens swayed by Fatcher are given short custodial sentences but eventually see the error of their ways.
Fatcher and the Alabaman commander (and some of his dissident troops) are still at large...to be hunted down in another game.
Thanks to Ross for hosting the game and pizza during the break.
The accord was working well until the previous leader of the colony, Fatcher, persuaded the Alabama State Governor to disobey Federal law and "liberate" the colonists from the agreement. The Alabama force arrived and detained 2nd Con observers. Before they did so, the peace-keepers were able to alert their counterparts in the ACC who had a garrison of Guardians of the Revolution (GoR) nearby. The GoR launched a force to rescue the observers and arrest Fatcher who was holding a rally to turn the colonists against the accord.
Fatcher's rally in the village square.
GoR forces form up to the west of the village. Despite the GoR grav technology, some of the ground troops will be unable to cross the lava flow except via the bridge. The lava is being controlled by the terraforming engines so if advanced troops can reach the controls, land bridges can be made (a difficulty 12 Skill check at one of the industrial terrain pieces).
A GoR power armour team deployed from their dropship advance on the terraforming engines. They are harried by an Alabaman team positioned in a hab-hut who prove difficult to overcome.
With the sound of battle echoing across teh village, some of Fatcher's audience start to disperse (Mental checks). Fatcher herself remained iron willed and continues her monologue (Mental check with stat reducing each turn for Fatcher to remain in the square or else flee).
As Alabaman APCs are destroyed to the south, an MBT rolls around the northern edge of the village. Another is advancing (out of shot) to the south.
The GoR drop ship tries in vain to remove the Alabaman team from the building near the bridge. Other GoR forces are advancing through the terraforming engines.
Although creating one land bridge over the lava, the drop ship (now heavily damaged with one damage point left) flies back over the flow to collect a further two fire teams rather than wait for them to advance on foot.
As the drop ship returns, a distant Alabaman MBT in the south takes shots at it but misses its target.
With GoR troops streaming into the village, the Alabamans see the writing on the wall and try to flee with the peace-keepers and their evidence. Fatcher can be seen escaping the village top-left.
Despite besting them in close combat, an Alabaman team surrender to a GoR unit (centre of image). They have little choice as a GoR fire team appear down the road (bottom) and GoR power armour close in from behind a (red) vehicle. To the left of the image, the troops trying to escape with the observers are rounded up by more power armour and the damaged drop ship. This is despite the interference of civilians now allied to Fatcher. At the top left, the Alabaman commander can be seen fleeing the battlefield.
Aftermath
The Accord endures. The colony remains in joint control of the 2nd Confederacy and Anarcho Communist Commonality. The Alabaman troops are arrested and sentenced using the evidence provided by the 2nd Con observers and taken from GoR vehicle footage (one of the fleeing civilians had been killed in the crossfire) . Those citizens swayed by Fatcher are given short custodial sentences but eventually see the error of their ways.
Fatcher and the Alabaman commander (and some of his dissident troops) are still at large...to be hunted down in another game.
Thanks to Ross for hosting the game and pizza during the break.


