
Post by RuneCaster_Aris on Sept 18, 2013 21:42:09 GMT -5
Okay, so here's the thing. I live in an apartment, I don't have room for dedicated game tables, or terrain boards. While sitting down one night, I came up with the simple concept for a collapsible terrain board that would cost less than $30. Good for small, fast games, you can add more sections for bigger games. Here is how I made it:
What you need:
- Old, wide Paint brush you don't mind getting glue on.
- PVA Glue (IE: Elmers/white glue)
- 1 can Krylon Grey Primer
- 1 can Krylon Stone Texture paint (I used dark brown)
- Static Grass
- 2 Three ring binders (2" spine)
- Duck Tape
- Hobby Knife
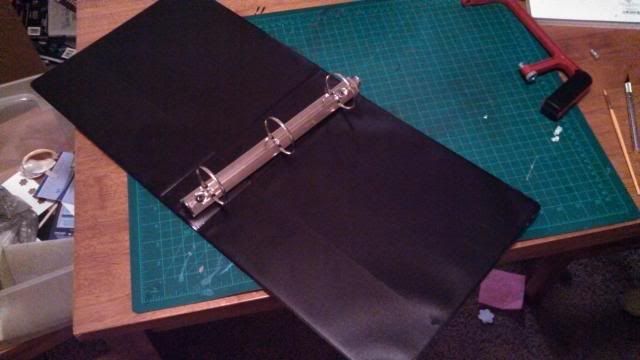
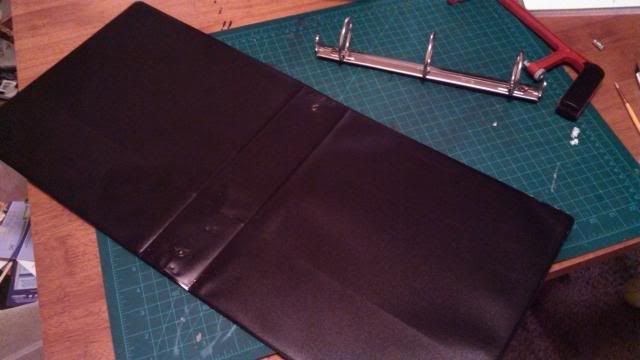
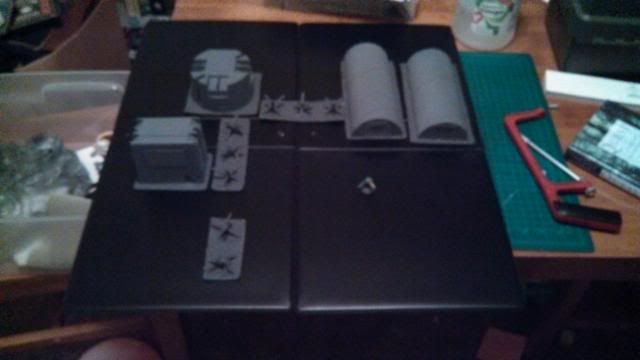
Start with your Three Ring binders. This was the most annoying part of the whole thing, I ended up having to cut the edges to be able to pry out the rings. Anyone who knows a better way, please share. But anyway, remove the rings as best you can.
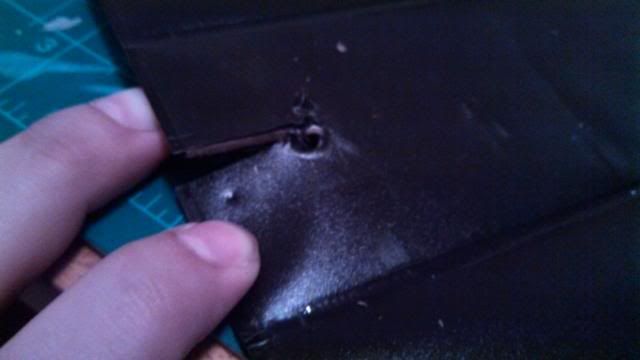
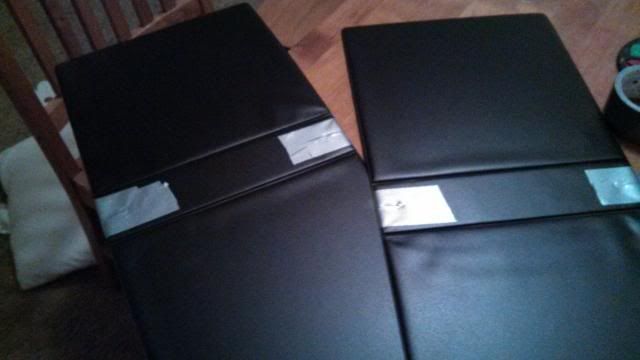
Next, put duck tape over the holes. This will help it last longer and protect the parts you sliced up.
Coat the top of the board (I say the 'top' is the side without the little pockets) with the Grey Primer. Do a few coats to make sure that duct tape is nice and covered and no black is peeking though.
After that, spray the grey with the texture paint. Do this in two stages, the first spray will separate a bit, and the second one will coat really nicely. You will use an entire can on this, so spray liberally but don't miss any spots.

Okay, you're going to miss spots, mostly because of the way the texture paint behaves, but that's okay! Get out your brush, glue and static grass and go to town!
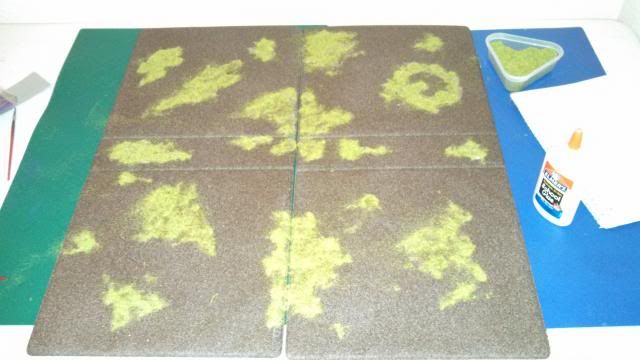
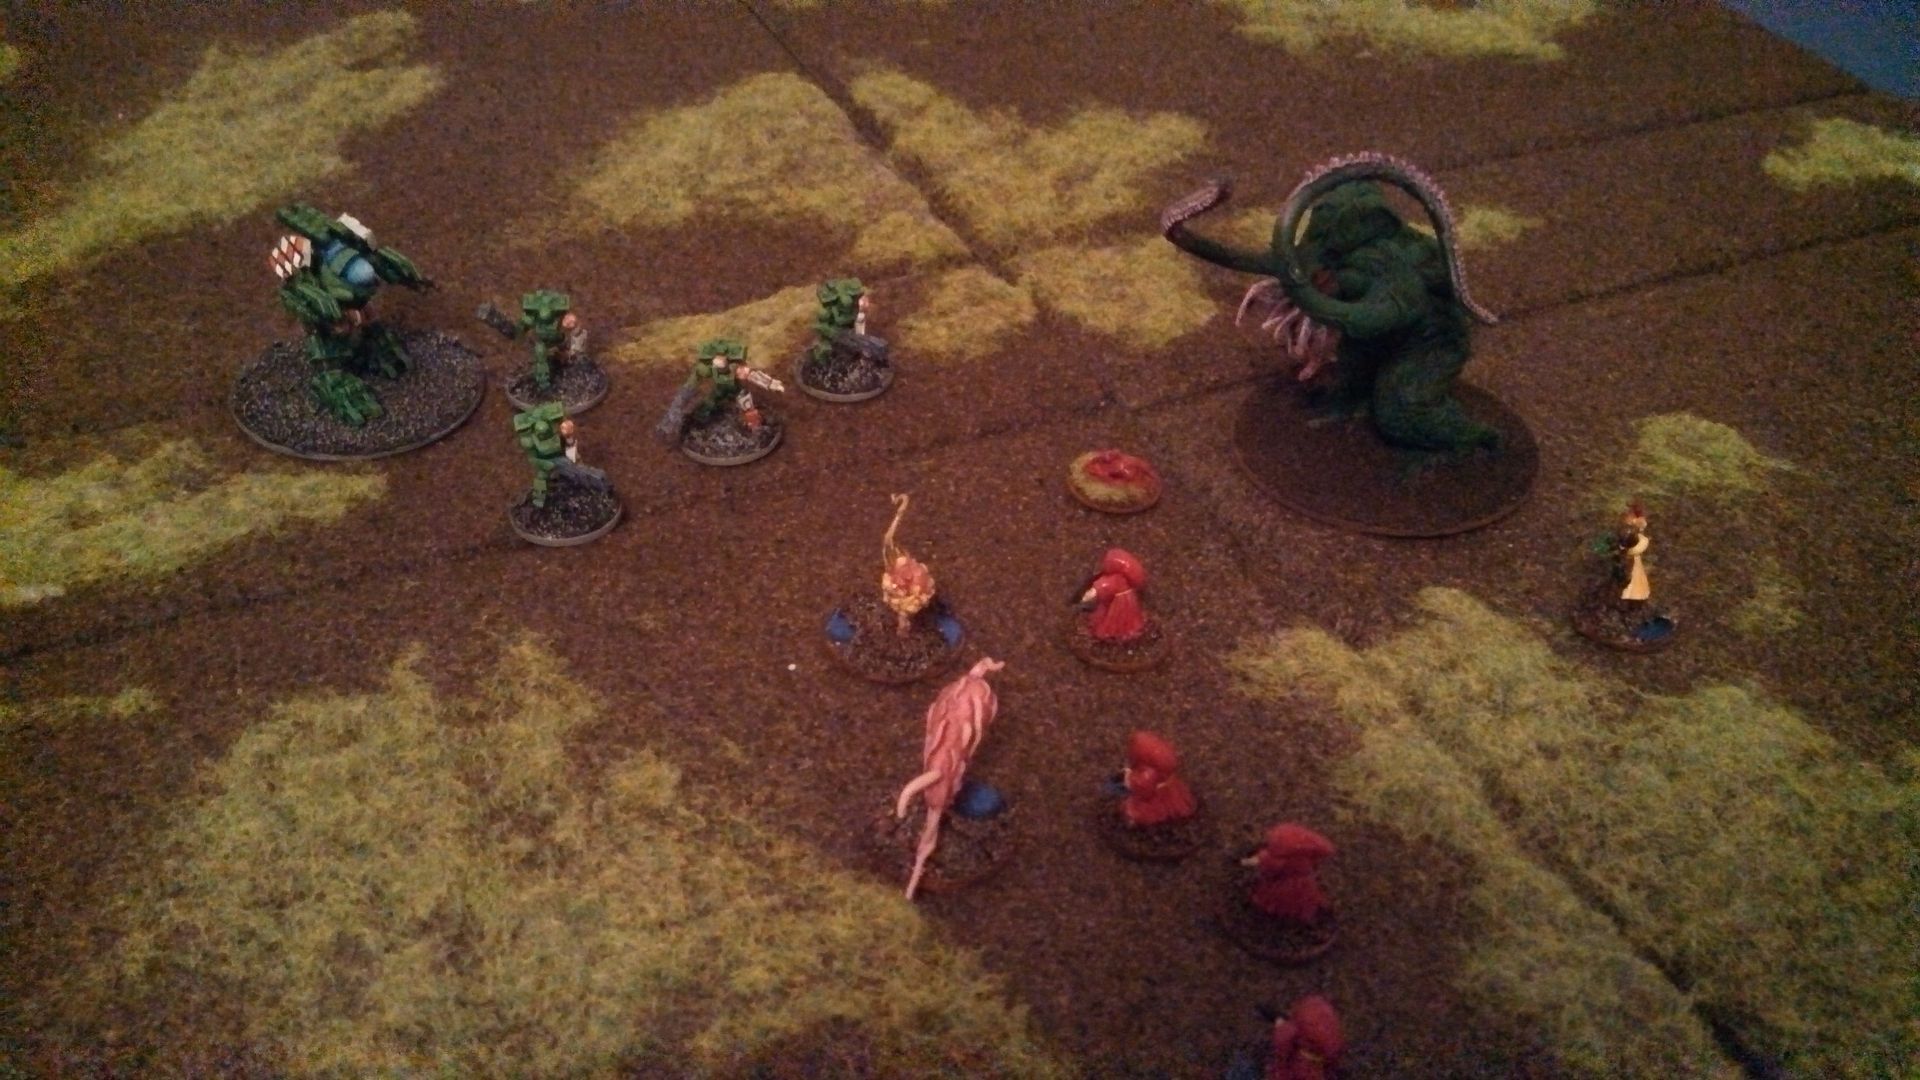
And there you have it. Below, Jester Atomic Inc. faces off against the Cultist Horde, as well as a pre-painted look with some unfinished terrain to give you some scale of what it will look like. The mini's are based on pennies.
What you need:
- Old, wide Paint brush you don't mind getting glue on.
- PVA Glue (IE: Elmers/white glue)
- 1 can Krylon Grey Primer
- 1 can Krylon Stone Texture paint (I used dark brown)
- Static Grass
- 2 Three ring binders (2" spine)
- Duck Tape
- Hobby Knife

Start with your Three Ring binders. This was the most annoying part of the whole thing, I ended up having to cut the edges to be able to pry out the rings. Anyone who knows a better way, please share. But anyway, remove the rings as best you can.


Next, put duck tape over the holes. This will help it last longer and protect the parts you sliced up.

Coat the top of the board (I say the 'top' is the side without the little pockets) with the Grey Primer. Do a few coats to make sure that duct tape is nice and covered and no black is peeking though.
After that, spray the grey with the texture paint. Do this in two stages, the first spray will separate a bit, and the second one will coat really nicely. You will use an entire can on this, so spray liberally but don't miss any spots.

Okay, you're going to miss spots, mostly because of the way the texture paint behaves, but that's okay! Get out your brush, glue and static grass and go to town!

And there you have it. Below, Jester Atomic Inc. faces off against the Cultist Horde, as well as a pre-painted look with some unfinished terrain to give you some scale of what it will look like. The mini's are based on pennies.


